Exporting and Importing Azgaar maps into UE5
Azgaar's Fantasy Map Generator is a great tool for creating fictional maps, but it doesn't have a direct export option for Unreal Engine 5.
Azgaar's Fantasy Map Generator is a great tool for creating fictional worlds, but it doesn't have a direct export option for Unreal Engine 5. However, you can use the heightmap and texture map exported from Azgaar's Fantasy Map Generator to create a landscape in Unreal Engine 5.
Here's a step-by-step guide:
Export heightmap and texture map from Azgaar's Fantasy Map Generator:
Open the map you want to export in Azgaar's Fantasy Map Generator.
Click on the "Menu" button (three horizontal lines) in the top-right corner.
Go to "Tools" > "Heightmap" > "Export as image" to save the heightmap. Choose "PNG" as the file format.
Go to "Tools" > "Biomes" > "Export as image" to save the texture map. Choose "PNG" as the file format.
Prepare the heightmap for Unreal Engine 5:
Open the heightmap image in a graphics editing software like GIMP or Photoshop.
Convert the image to grayscale if it isn't already. In GIMP, go to "Image" > "Mode" > "Grayscale". In Photoshop, go to "Image" > "Mode" > "Grayscale".
Save the grayscale heightmap as a PNG or TIFF file.
Import the heightmap and texture map into Unreal Engine 5:
Open your UE5 project or create a new one.
In the "Content Browser", click on "Import" and select the heightmap image file. Choose "Height Map" as the type and adjust any other settings as needed. Click "Import" to import the heightmap.
In the "Content Browser", click on "Import" and select the texture map image file. Choose "Texture" as the type and adjust any other settings as needed. Click "Import" to import the texture map.
Create a landscape using the heightmap:
In the "Modes" panel, select the "Landscape" tab.
Click on "Create" > "New Landscape".
In the "Heightmap File" field, click the "..." button and select the imported heightmap.
Adjust the landscape settings, such as "Scale" and "Component Size", as needed.
Click "Create" to create the landscape.
Apply the texture map to the landscape:
Create a new material in the "Content Browser" by right-clicking and selecting "Material".
Open the new material in the Material Editor.
Import the texture map into the Material Editor by dragging it from the "Content Browser" or using the "Texture Sample" node.
Connect the texture map's RGB channels to the "Base Color" input of the "Material" node.
Save and apply the material to the landscape by selecting the landscape in the viewport, going to the "Details" panel, and assigning the material to the "Landscape Material" slot.
Optionally, you can use the texture map to create more complex landscape materials with separate layers for grass, rocks, sand, etc., by using "Landscape Layer Blend" nodes and masks based on the texture map's color channels.
Now you should have a landscape in Unreal Engine 5 that resembles the map generated in Azgaar's Fantasy Map Generator. Note that the landscape's scale and level of detail may not match the original map exactly, and you may need to adjust the landscape settings and material to achieve the desired appearance.
Given the size of the heightmap imported, we haven’t really given it enough area and
You may need to select the relevant area in the world partition manager and the form the right click context menu select “Show Selected/Focus Selected Area”.
Now we’ll need to add some collision to the landscape.
If your character is falling through the landscape when you hit "Begin Play," it's likely due to a collision issue. Here are some steps you can take to resolve the problem:
Ensure that the landscape has collision enabled:
Select the landscape in the viewport.
In the "Details" panel, look for the "Collision" section.
Make sure the "Collision Preset" is set to "BlockAll" or a similar setting that blocks the character from falling through.
Additionally, ensure that "Generate Overlap Events" is enabled if you want the landscape to trigger overlap events with other actors.
Check the character's collision settings:
Select the character blueprint in the "World Outliner" or "Content Browser."
Open the blueprint and select the "CapsuleComponent" in the components list.
In the "Details" panel, look for the "Collision" section.
Ensure that the "Collision Preset" is set to "Pawn" or a similar setting that blocks the character from falling through the landscape.
Also, make sure "Generate Overlap Events" is enabled if you want the character to trigger overlap events with other actors.
Verify that the landscape's collision mesh is generated correctly:
With the landscape selected, go to the "Details" panel and click on the "Show Simple Collision" button (it looks like a small white square) located near the top-right corner of the panel.
This will display the landscape's collision mesh as a wireframe overlay. Ensure that the collision mesh matches the landscape's shape and isn't missing any parts that would cause the character to fall through.
Rebuild the level's geometry and lighting:
Sometimes, issues with the level's geometry and lighting can cause collision problems. To rebuild the level, go to the "Build" dropdown menu in the main toolbar and click on "Build Geometry" and "Build Lighting."
If you've followed these steps and the character is still falling through the landscape, there might be a more specific issue with the character or the landscape.
For example when altering the landscape above I noted weird issues with painting on it and collision didn’t seem to work. It would appear that collision mesh didn’t scale with the landscape mesh. There are workarounds detailed here: https://forums.unrealengine.com/t/rebuild-landscape-collision/295021/14
We’ll need to fix this by forcing the editor to rebuilding the neightmap and collision mesh. Let’s see what measures we can take here without resorting to reimporting the mesh or having to use a 3rd party editor.
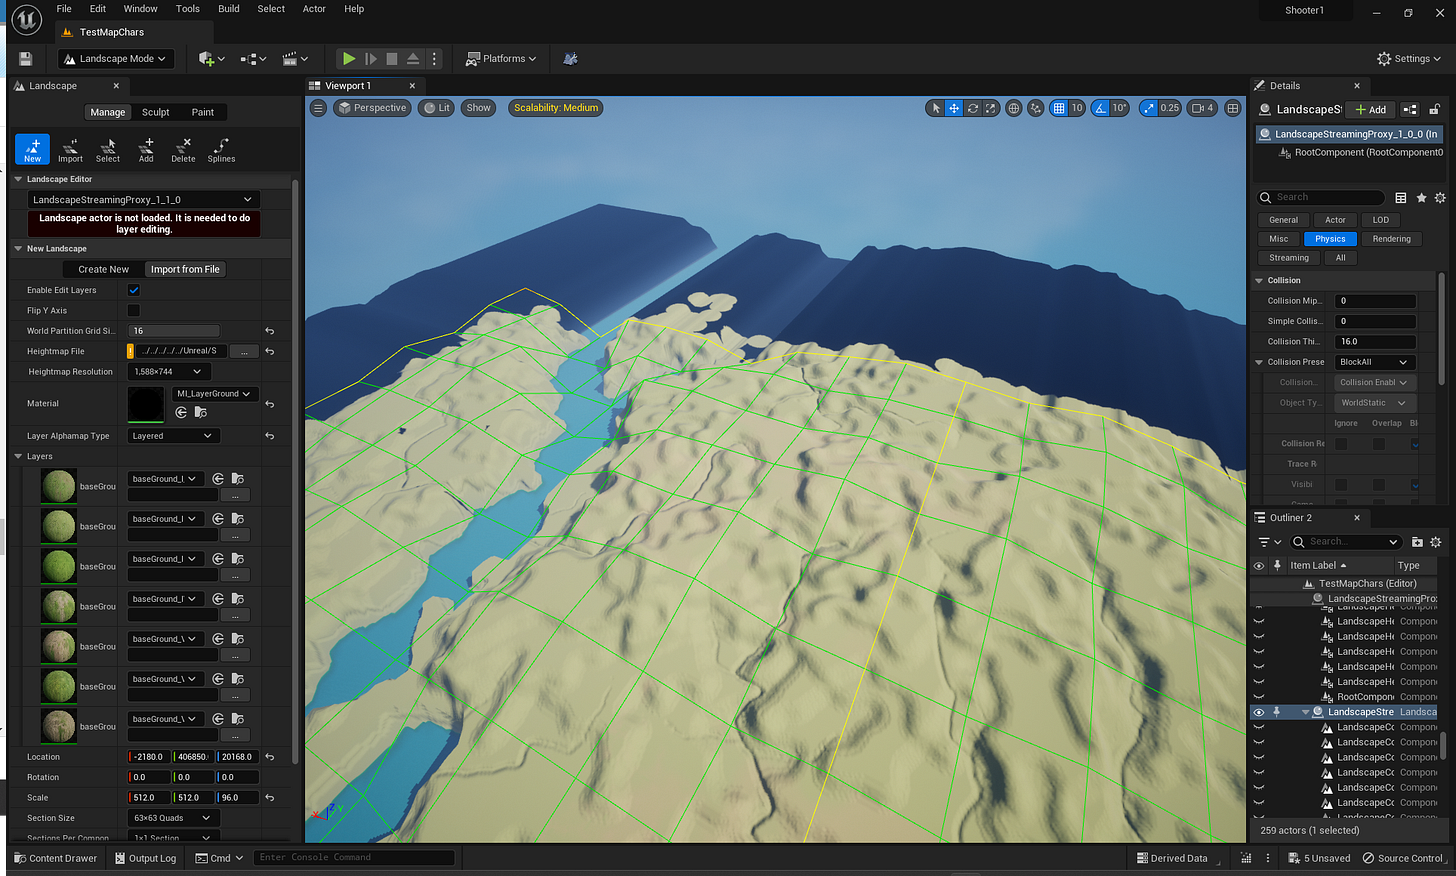
Yeah okay that was a mess. You will need to ensure you append your hieghtmap files with “_x0_y0” after the name but before the extension. For example: “Heightscape_x0_y0.png”. The landscape editor will throw a yellow instead of a red error and you will be able to add layers and import.
If you're having trouble reimporting the heightmap, you can try the following steps to create a new landscape using the heightmap:
Make sure you have the heightmap file in a supported format (PNG or TIFF) and with a valid file name (no special characters or spaces).
In Unreal Engine 5, open the "Modes" panel and select the "Landscape" tab.
Click on "Create" > "New Landscape".
In the "New Landscape" window, go to the "Import Settings" section and click the "..." button next to the "Heightmap File" field. Select the heightmap file you want to use.
Adjust the landscape settings, such as "Scale" and "Component Size", as needed.
Click "Create" to create the landscape.
Remember that in Landscape Mode you will not be able to select objects outside the purview of the Landscope mode. If you find yourself needing to delete landscape actors, remember to delete the subcomponents from selection mode using the outliner.
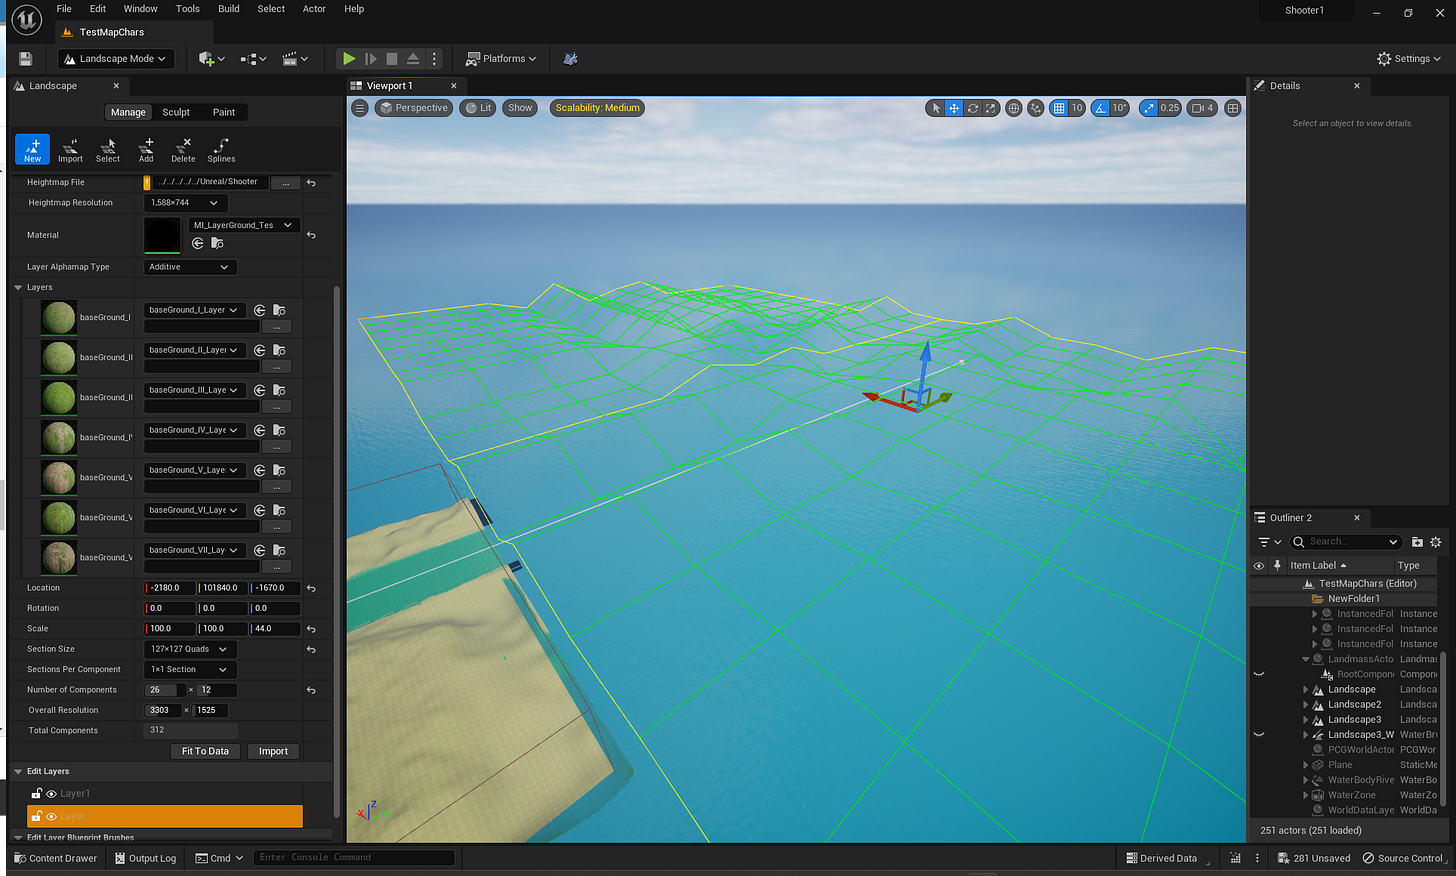
From here you will be able to start scaling the landscape/component mesh. This will depend on the quality of the screenshot you were able to get from AWE (Azgaar World Editor). Depending how on attached you are to your intial layout, you can play with the various scaling.
For example here, I scaled the mesh across the various axes to look for a good effect to build a very arge landmass with. The artifacting at the edge is likely from extending or adding too many components along that edge - leading to the data being repeated like we see here.
Generally speaking, and with reference to the FAQ provided below from the Discord, more points
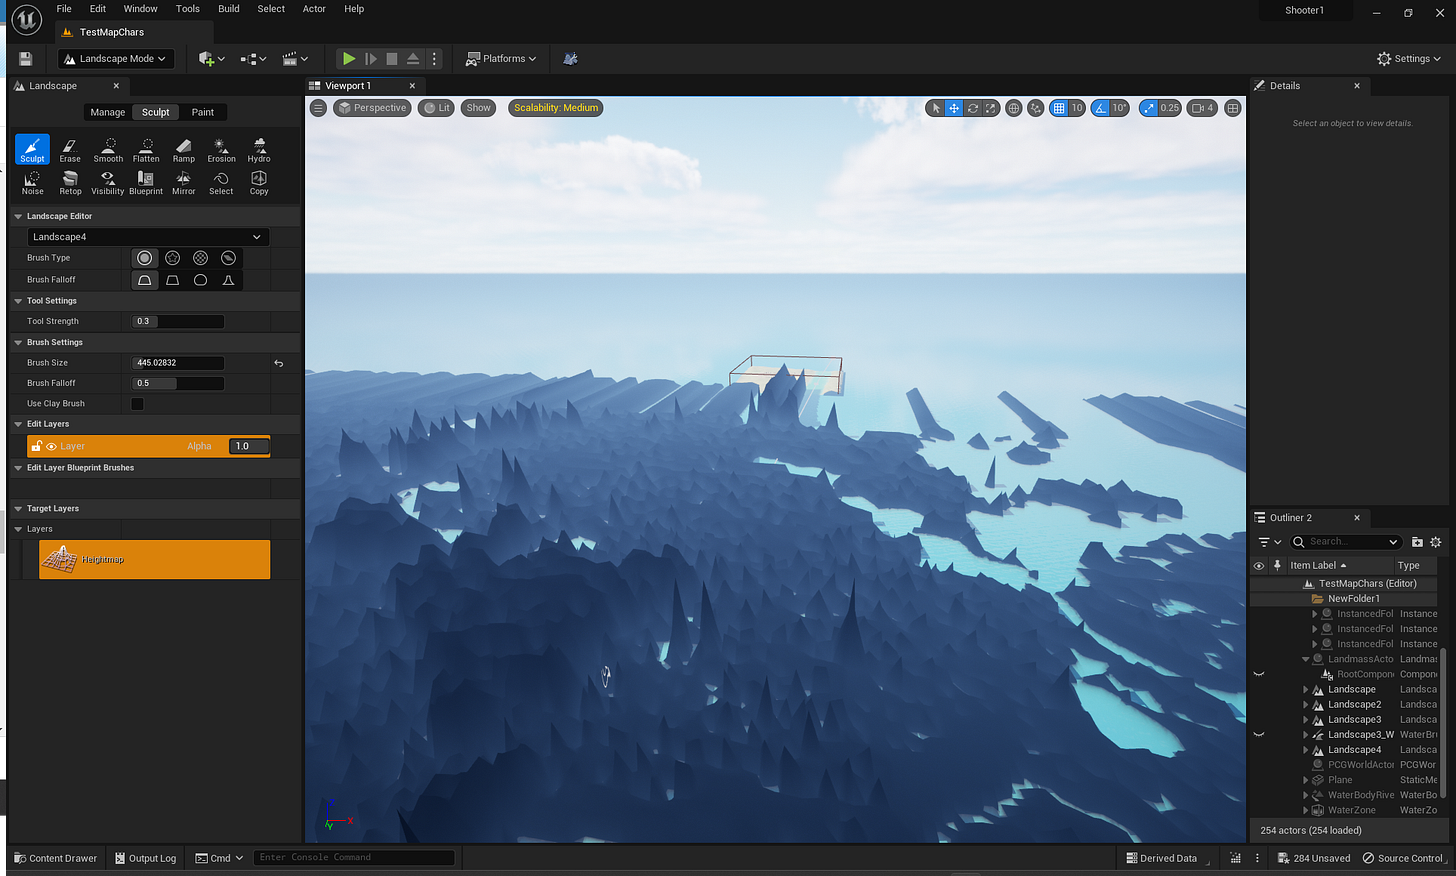
Now, by ensuring we do all our Z scaling before importing and generating the landscape, we can see that our collision mesh is where it should be:
After painting the landscape you can see we can bring up the various details as saved in the version of the heightmap we uploaded. Obviously the z-scaling is too steep, but you can just delete the landscape chunk using the delete tool and try it again.
But our collision is fixed.
There does appear to be extra terrain generated outside the terrain mesh. I suspect that reworking the importmap and the scaling settings will probably help there. Be sure to turn off any borders during your heightmap export from Azgaar.
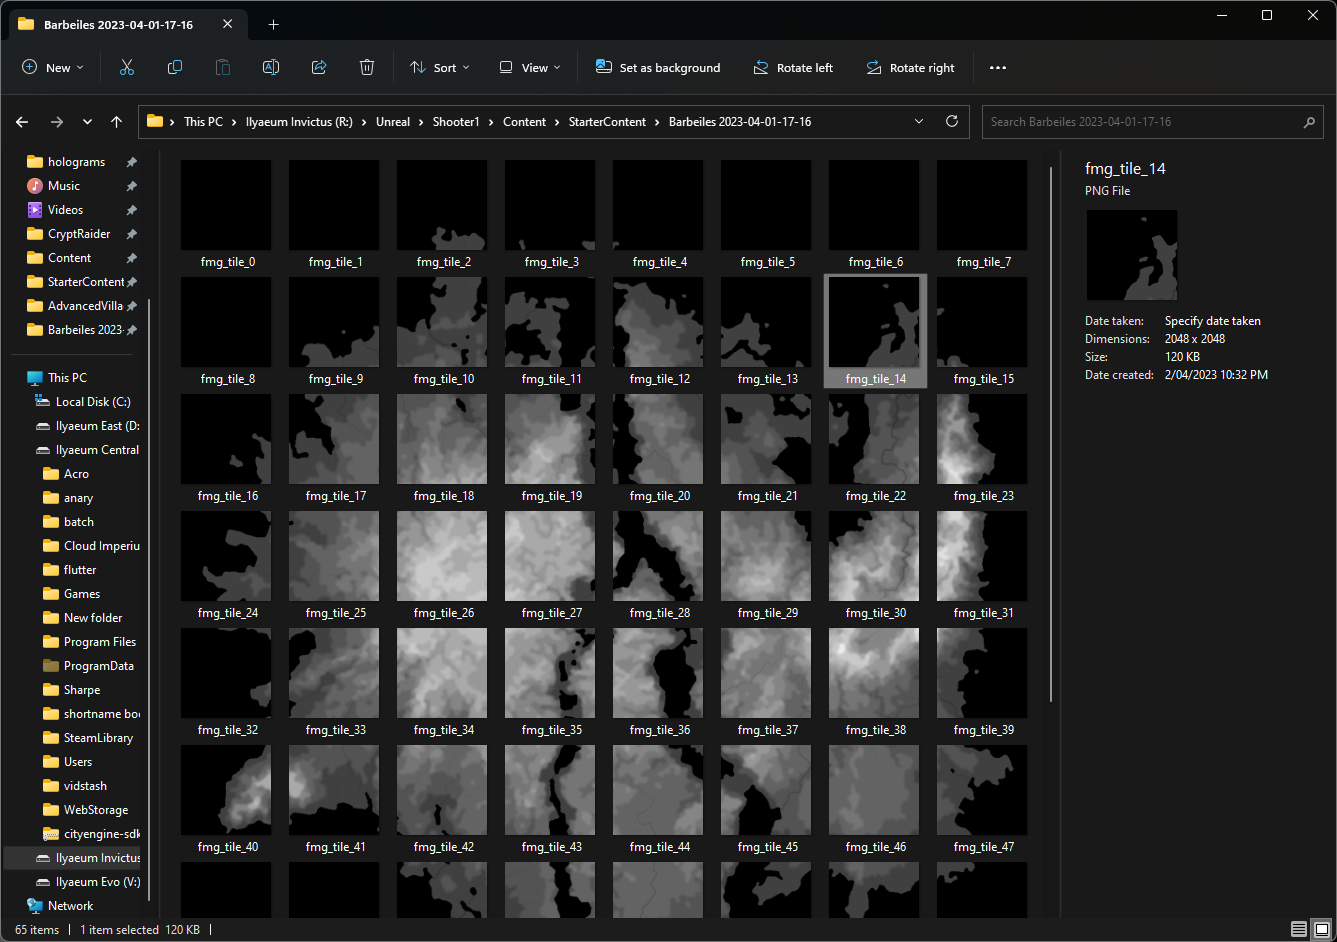
Generally I found that the less ambitious my scaling, and the less I tried to import from the one layer of stuff was going to yield diminishing returns when it came to resolution and sheer size. Fortunately, Unreal Engine 5 has a large suite of open world tools designed for creating truly massive virtual worlds. We are also quite fortunate in that AWE comes with a tiling export function. If you set the view to thumbnail in Windows 11 and scale appropriately, you can have a tiled view set up in explorer.
From here we can add in the tiles via the landscape create new import tool and add the tiles of our landmass from the ortographic view. Save regularly, I’m running a 3070ti and the GPU crashed often; at 32gb of DDR5, I also ran out of RAM, 100gb free on a NVME virtual, I regularly ran out of paging. You’ll need to get familiar with loading and unloading part of the world with the partition editor.
After tiling your desired landscape together, you should see the outlines of your continent beginning to take shape. I didn’t find a consistent way to snap the big landscape pieces together, as I’m still learning the tool, so if you know of a better way to handle the tiling import process please let me know down in the comments. Now that we have one big piece, we can start doing stuff to it as an object. I exported the whole level as one obj. file - and this process took a very long time during which Unreal Engine stopped responding. You’re able to get a defacto progress bar by watching the Editor’s RAM usage drop in Task Manager.
As you can see in the viewport, a passable prototype has been created.
From here you can begin working with tools like the landmass plugin, or 3rd party plugins; to start better shaping the result you want. For us, we want to continue with what else we can generate from AWF into UE5.
City Overlays
Further, Azgaar’s Generator doesn’t just generate a heightmap for you, but can generate kingdoms, religions, cultures, nations and provinces and settlements (‘burgs’ in the editor), roads, and other points of interest.
You can access the city overlay by zooming and clicking on a settlement on the map and following the link as circled. This should bring up the city generation tool. From there you can access the right click context menu to select colour schemes and removing text to assist in export. I have left some elements visible for demonstrative purposes. The city can be procedurally regenerated or manually configured by the user. For our purposes, any unique lay out with believable town/city layouts are good enough for our purposes.
In addition to being an apparently amazing tool for dungeon masters, we can use a lot of this stuff for inspiration when it comes to really building our world. It’s a hell of a lot easier to change the name, place, or feel of a place than it is to put it all together from scratch. We can use all this generated content to speed up the process of crafting a believable world together. It still is up to the designer to give all of this content meaning to the play - and good writing and narratives are the best way to achieve that. Being able to compartmentalise and tinker as you go is still a lot less daunting.
You can import the city layouts from Azgaar’s city generator by clicking on the link in the generator and going to the
Import the city layout image into UE5:
In the "Content Browser", click on "Import" and select the city layout image (black and white PNG) you exported from Azgaar's Fantasy Map Generator.
Choose "Texture" as the type and adjust any other settings as needed. Click "Import" to import the texture.
Create a plane mesh to display the city layout in the editor:
In the "Content Browser", right-click and select "Create Basic Asset" > "Material".
Name the material something like "CityLayoutMaterial".
Double-click the material to open it in the Material Editor.
Drag the city layout texture from the "Content Browser" into the Material Editor.
Connect the texture's "RGB" output to the "Base Color" input of the "Material" node.
Connect the texture's "Red" output to the "Opacity" input of the "Material" node.
Set the material's "Blend Mode" to "Masked" or "Translucent" in the "Details" panel.
Save and close the Material Editor.
In the "Modes" panel, search for "Plane" and drag it into the viewport.
Apply the "CityLayoutMaterial" to the plane by dragging it from the "Content Browser" onto the plane in the viewport.
Scale and position the plane as needed to match the landscape and desired size of your city or village.
Use the city layout as a guide for placing buildings, roads, and other assets:
With the city layout visible in the editor, you can start placing assets like buildings, roads, trees, and other props to match the layout.
To create a more efficient workflow, you can use UE5's built-in tools like the Foliage tool for scattering props, the Landscape Splines tool for creating roads and pathways, and the World Partition feature for managing large open worlds.
Optionally, you can use the city layout as a texture mask for procedurally spawning assets using Blueprints or the new Nanite Virtualized Geometry system in UE5. This approach would require more advanced knowledge of Unreal Engine, but it could save time and improve performance in large-scale environments.
Remember that the city layout imported from Azgaar's Fantasy Map Generator is just a starting point. You can modify and expand the layout in UE5 to better fit your game's requirements and art style.
Common Tips FAQ - Azgaar's Discord
- Remember to save regularly
- More points equal more realistic maps but also significantly more lag
- If you want to delete all roads of a same type, just delete the type
- There is also a Reddit community for the generator (https://www.reddit.com/r/FantasyMapGenerator)
- The red dots in the shoreline are for smaller things to change the map go to Heightmap in Tools
- If the .map doesn't appear in your downloads check if you have something preventing downloads (browser extension or popup policy)
- You can only have one map saved on the browser, if you save one more or clear cache that map its gone
- If burgs doesn't appear in an area check if that area has a culture and is habitable
- If states doesn't appear in an area check if that area has a culture and is habitable
- To download specific maps check here https://cartographyassets.com/asset-category/specific-assets/azgaars-generator/ (edited)


